It doesn’t seem like that long ago (oh, but it was) that I was in my first introductory circuits class. I found circuit theory very interesting …and tedious … and frustrating. But when I built my first circuit on a breadboard—I was hooked.
Electronics lab quickly became my favorite class—never mind that I had to spend hours hunched over a spider web of wires, tracing and probing every power and ground connection, every signal node, just to find out there was a defect in my breadboard. I enjoyed troubleshooting circuits so much that I volunteered as a teaching assistant in the electronics lab.
Pro tip: troubleshooting your circuit is a lot easier when you build a tidy circuit, with wires that are perfectly trimmed to lay flat against the breadboard as shown in Figure 1, and unlike in Figure 2.
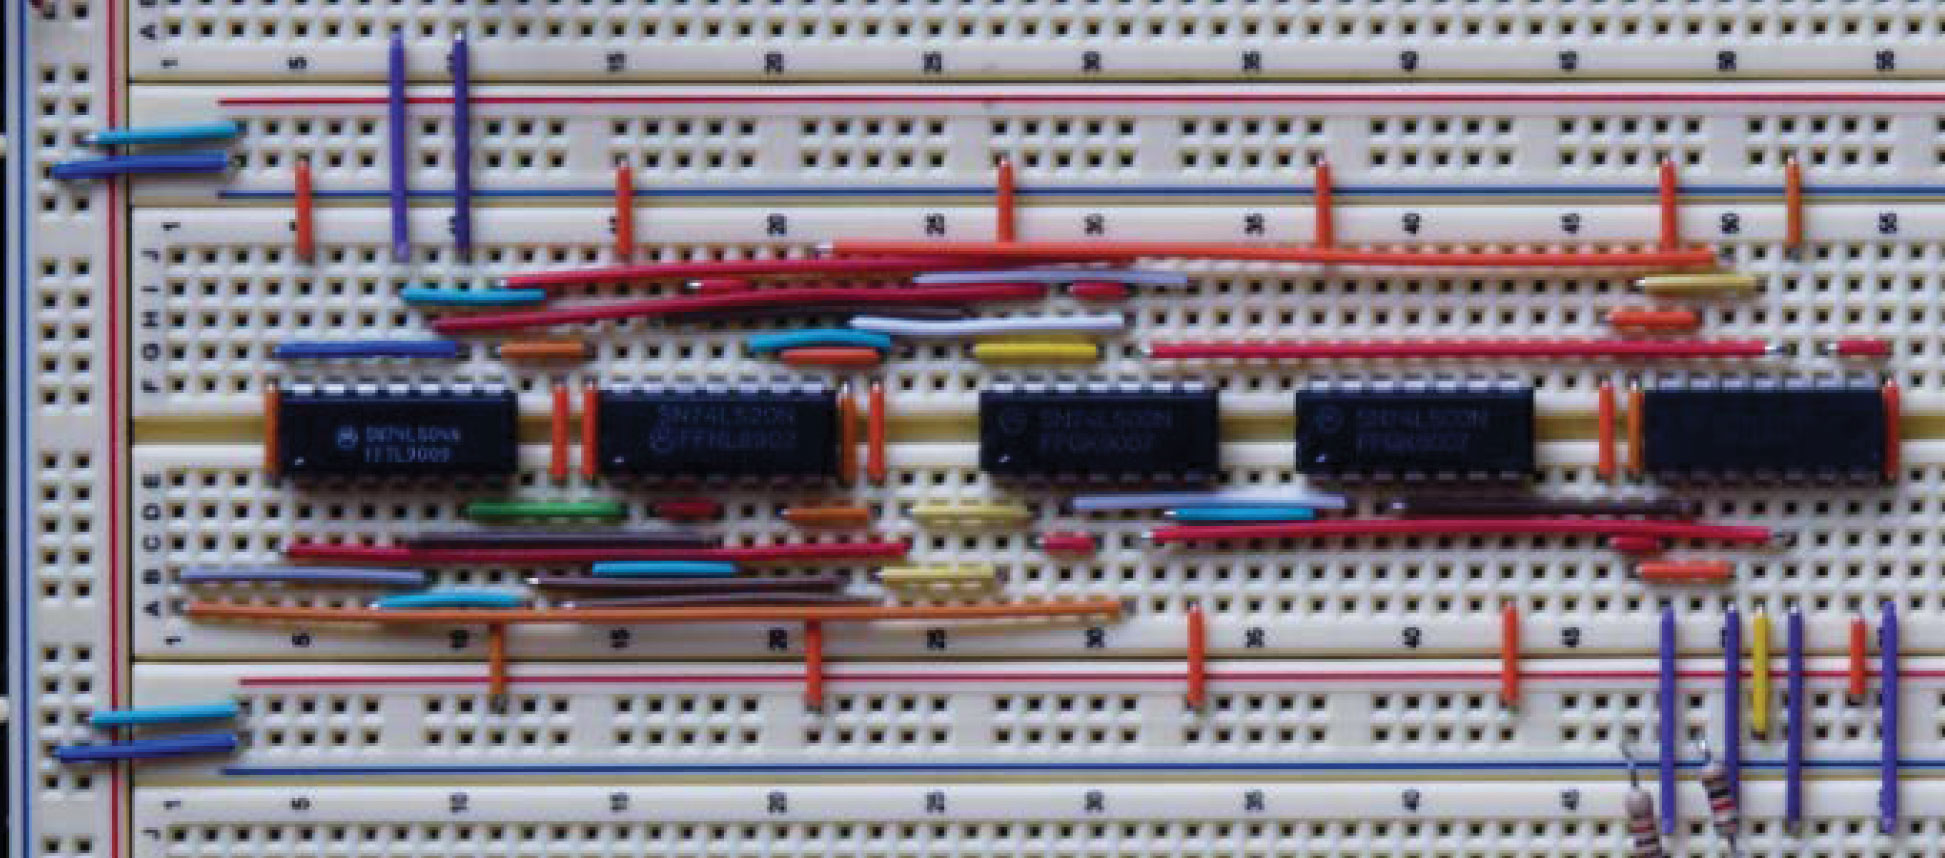
Figure 1. A very tidy circuit on a solderless breadboard. Photo courtesy of Kevin Johnson, Georgia Tech ECE Digital Design Lab.
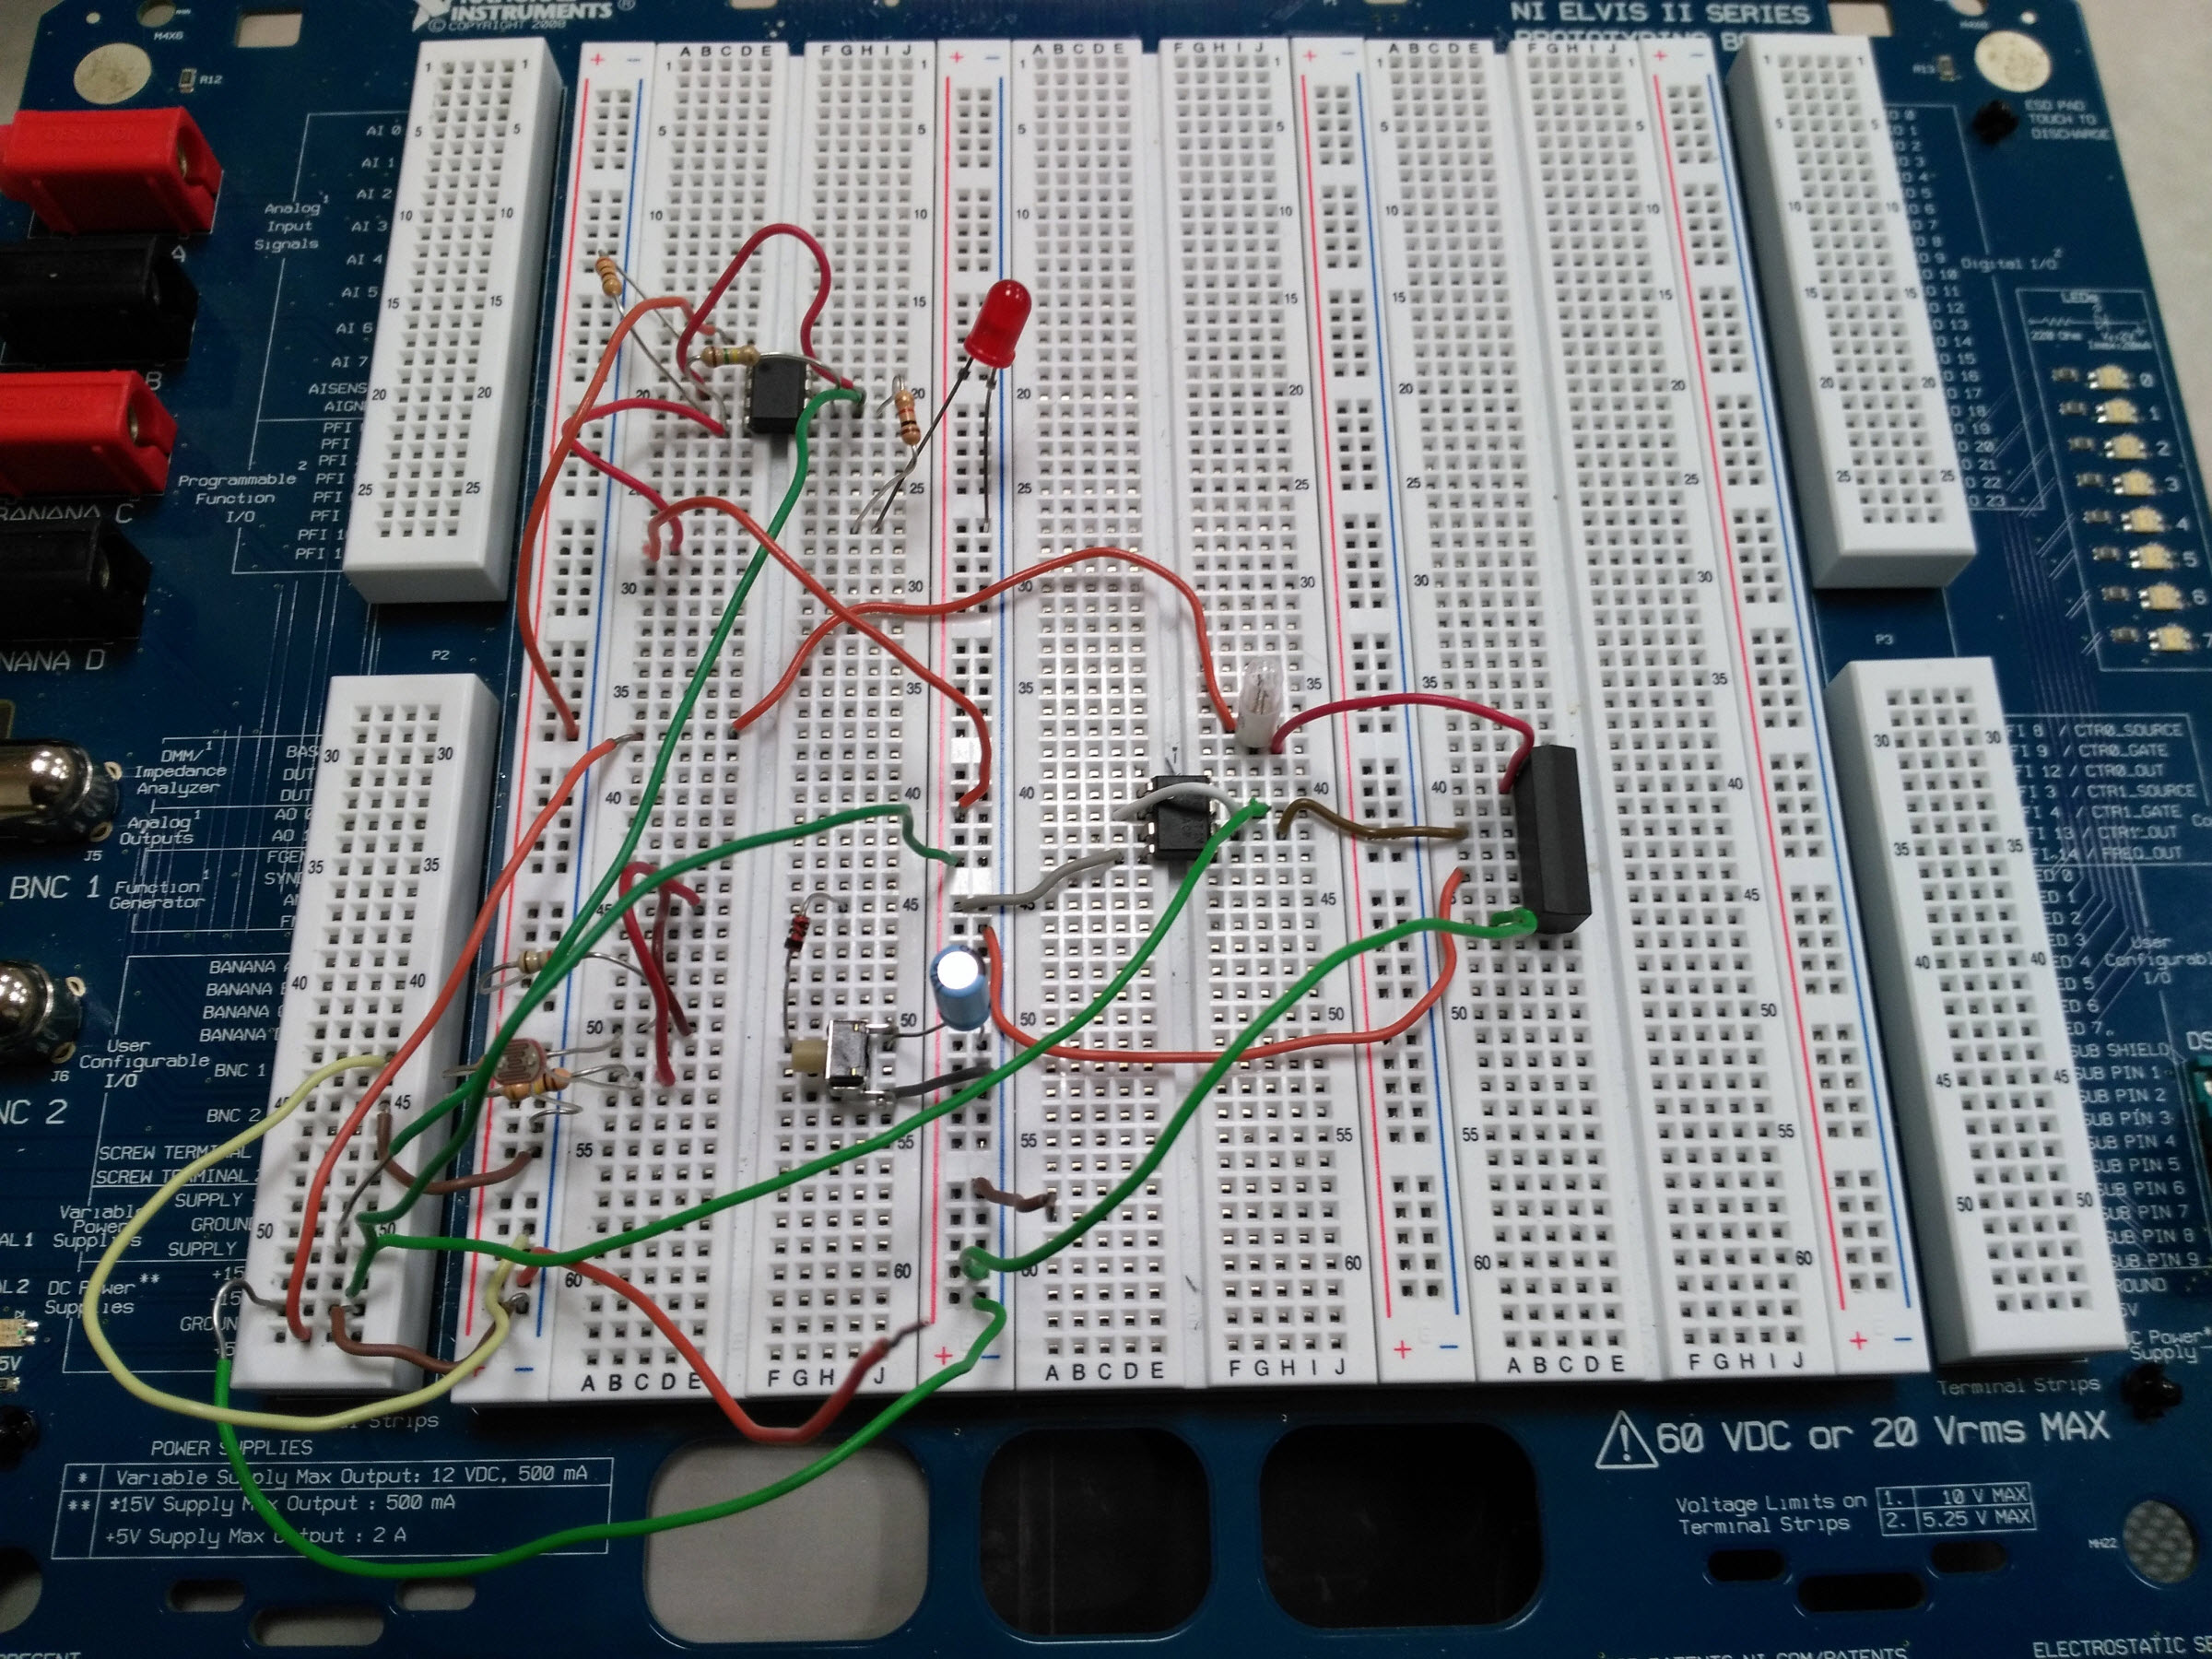
Figure 2. You will be sorry if your solderless breadboard looks like this! Photo courtesy of Kevin Johnson, Georgia Tech ECE Digital Design Lab.
But none of that seemed to prepare me for my senior project. We had to make a (miniature) self-driving car—which doesn’t sound too difficult, except that my group decided to implement it with analog-only circuitry (I’m still thankful someone in my project group was proficient in control theory). And while the only feature we were able to successfully implement was stop-before-hitting-a-wall, we made more progress than those who tried to build their car using a microcontroller.
We found ourselves having to research every single aspect of the design, with very little experience to guide us. What kind of sensor do we use to measure that the wall is approaching? How do we buy that sensor? Now that we have said sensor, how do we hook it up? How do we interpret the output signals? My experience in the electronics lab was not as helpful as I expected.
There were probably plenty of resources available to help me through the project, but I wasn’t aware of many (I was in school during the early days of the internet). But, over the years, I’ve gathered a long list of places I turn to when starting a new project—maybe some of these suggestions will be helpful to you in your projects.
If you’re looking for some tips on how to get started with breadboarding and prototyping circuits, then check out the November StudentZone article.
Obtaining Samples from Analog.com
First, let’s talk about free stuff—Analog Devices offers a free sample program. You can order samples by navigating to the product page, and scrolling down to Sample & Buy. If parts are available for sample (again, free), you’ll see a Sample button in the Order from Analog Devices column:
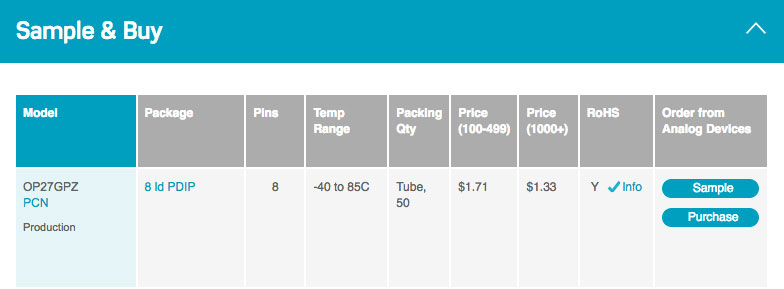
Figure 3. Analog Devices product page where samples can be ordered.
Visit the link above for all of the details—you will need to sign up for a myAnalog account to order samples. Also, be sure to use your university email address when signing up for your account—you will not be able to order samples with a free email account like Gmail or Yahoo Mail.
Searching and Ordering Parts on the Web
For breadboarding, a DIP package (dual in-line package) would be preferable. But what if you find that the DIP version is available for purchase, but not for sample? Your next option would be to purchase that device from a supplier like Digi-Key, Mouser, etc. One of my favorite places to look for parts is Octopart—for example, searching for a 10 kΩ version of the AD5206 potentiometer in a DIP package: https://octopart.com/search?q=AD5206&specs.resistance.value=10000&start=0&specs.case_package.value=DIP
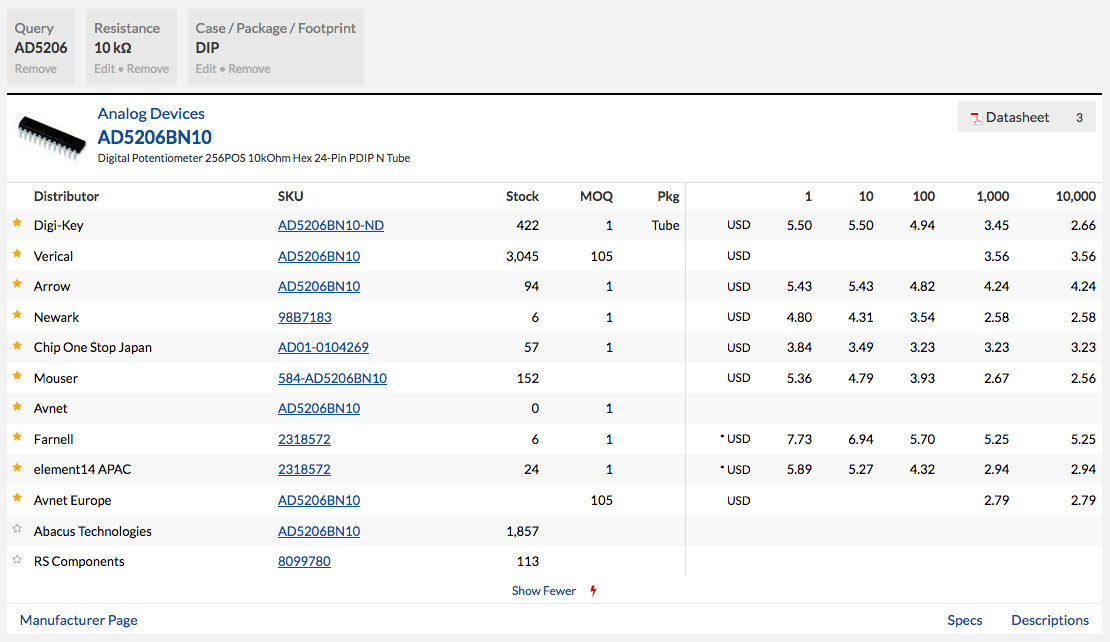
Figure 4. Typical electronics parts supplier web page. This one is courtesy of Octopart.
The AD5206 is a digitally controlled potentiometer, and it’s handy for lots of projects. But, I’m not able to get a free sample in a DIP package from analog.com. So, one option would be to get one from one of the suppliers listed in Octopart, depending on the cost.
Whether you’re looking at Octopart, or directly on a supplier website—be sure to make note of the MOQ (minimum orderable quantity). Often times the same device will be sold under multiple SKUs, with the only difference being the minimum quantity.
Can’t Find a DIP Part for My Breadboard
So let’s say you find yourself with an SOIC (or some other package) device that you’d like to include in your breadboarded circuit. For example, the AD5206 is available as a free sample in some other packages—specifically, SOIC and TSSOP, as shown in Figure 5.
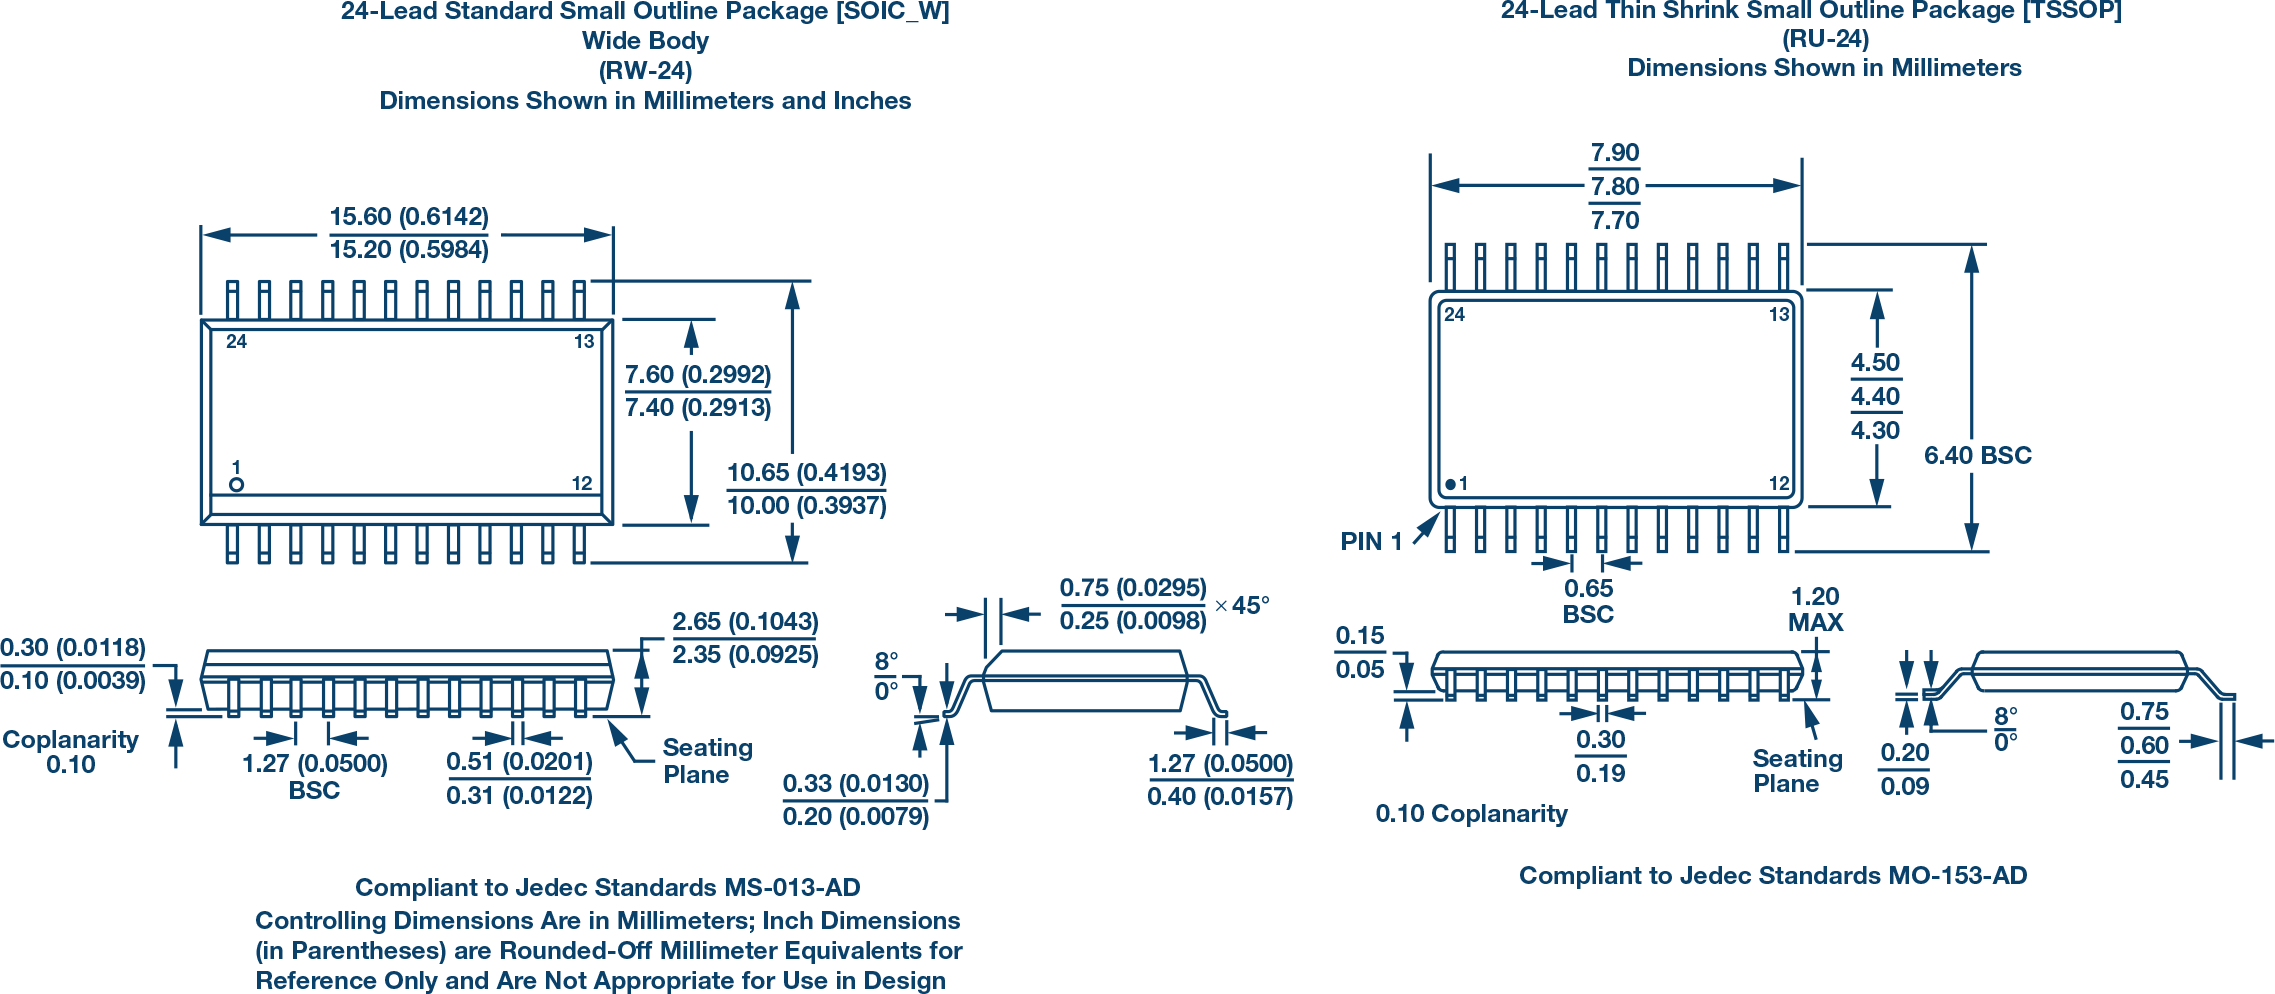
Figure 5. SOIC and TSSOP package options for an AD5206 digital potentiometer.
An SOIC-to-DIP breakout board is very handy for breadboarding with breadboard unfriendly SOIC devices—as long as you’re able to solder, or find someone who can teach you how.
For both breakout boards and circuit tutorials, I usually go to sparkfun.com and adafruit.com. Both sites will have SOIC-to-DIP adapters—just search “SOIC” in the site search bar. For example:
(Aside: in this case, the Adafruit breakout looks a little more flexible and user-friendly—the extra long pads would accommodate several SOIC variations, and would likely make soldering a little easier.)
But I Don’t Know How to Solder
Again, I would recommend going to Sparkfun and Adafruit. They have some great written tutorials, as well as videos. For example, if you need to solder your SOIC to an SOIC-to-DIP breakout, then you’ll want to learn some surface-mount techniques:
- https://learn.adafruit.com/adafruit-guide-excellent-soldering/surface-mount?view=all
- https://www.sparkfun.com/tutorials/category/2
Or, if you’re trying to build something that has through-hole components:
- https://learn.sparkfun.com/tutorials/how-to-solder---through-hole-soldering
- https://learn.adafruit.com/collins-lab-soldering/video?view=all
Soldering takes time to learn—you’ll only get better with practice. Soldering is easier if you have the right equipment. It can be expensive to purchase all of this stuff, so try to find a maker space or lab with equipment you can use. Tools like a vise, lamp, magnifier, and good tweezers can make a big difference in how well your soldering project turns out. And try to get your hands on a good soldering iron. All of the previously mentioned tutorials include recommendations.
If this is your first time reading StudentZone, be sure to look for previous columns in the Analog Dialogue archive. And, if you’d like to receive Analog Dialogue in your inbox, be sure to subscribe in the Manage Updates >My Newsletters section of your myAnalog account settings.
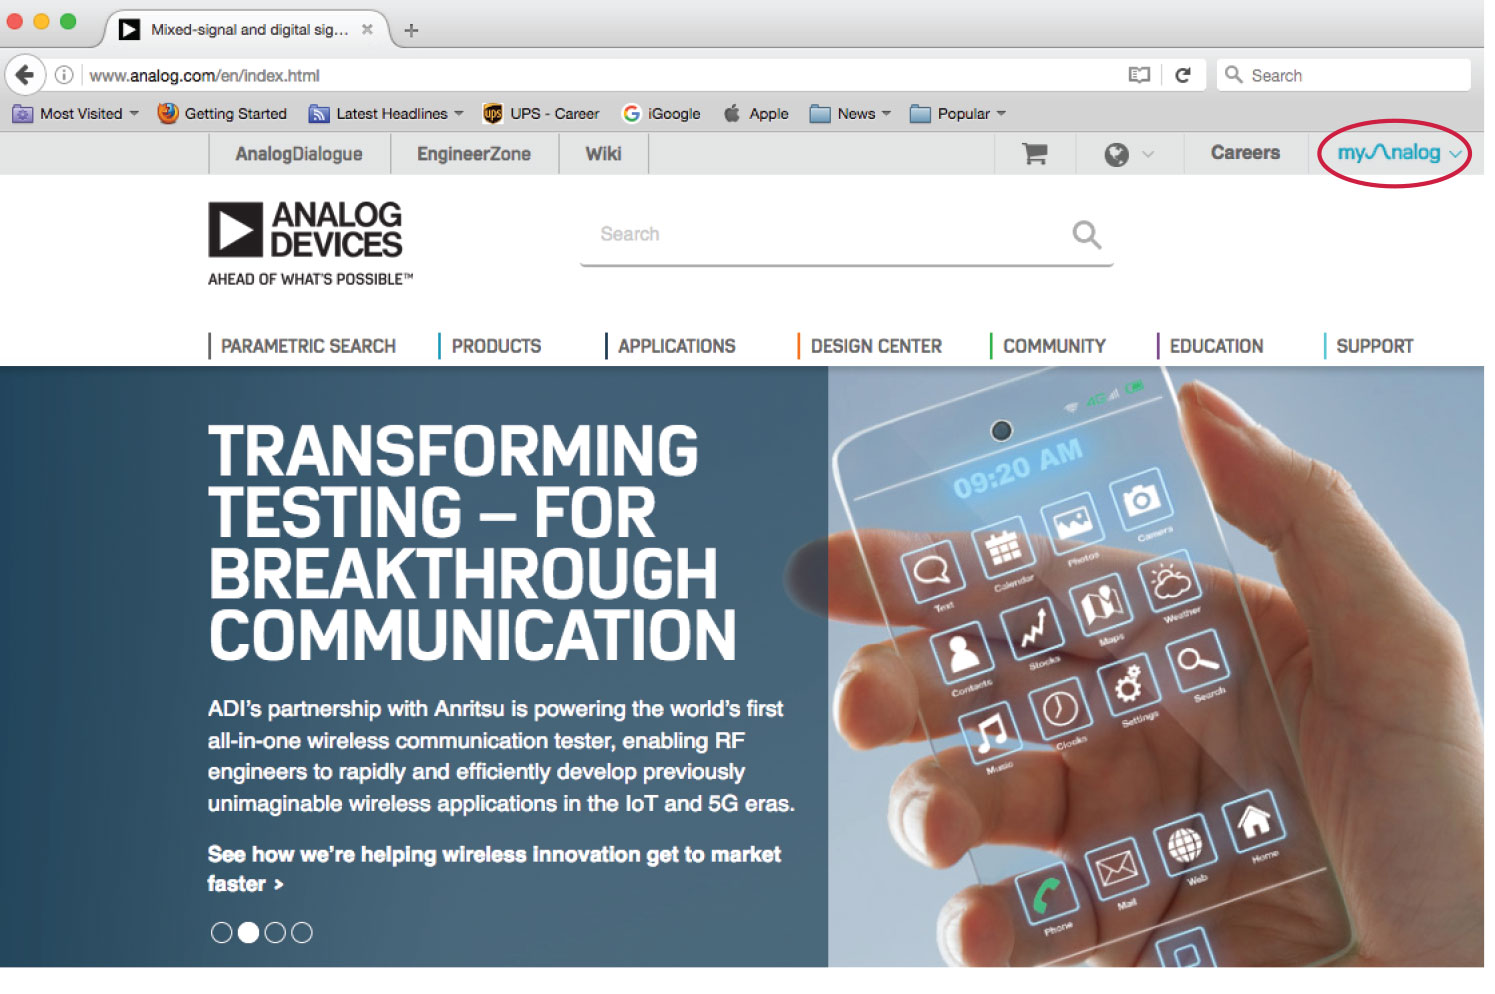
Figure 6. Getting started with a MyAnalog account.
And Finally, a Circuit Quiz
Continuing our tradition of stimulating your thought process, this month’s quiz is shown in Figure 7. Check your solution on the StudentZone section of EngineerZone®.

Figure 7. Quiz: Find the source voltage across the 1 mA current source.

