AN-053: TMC4671 PI Tuning
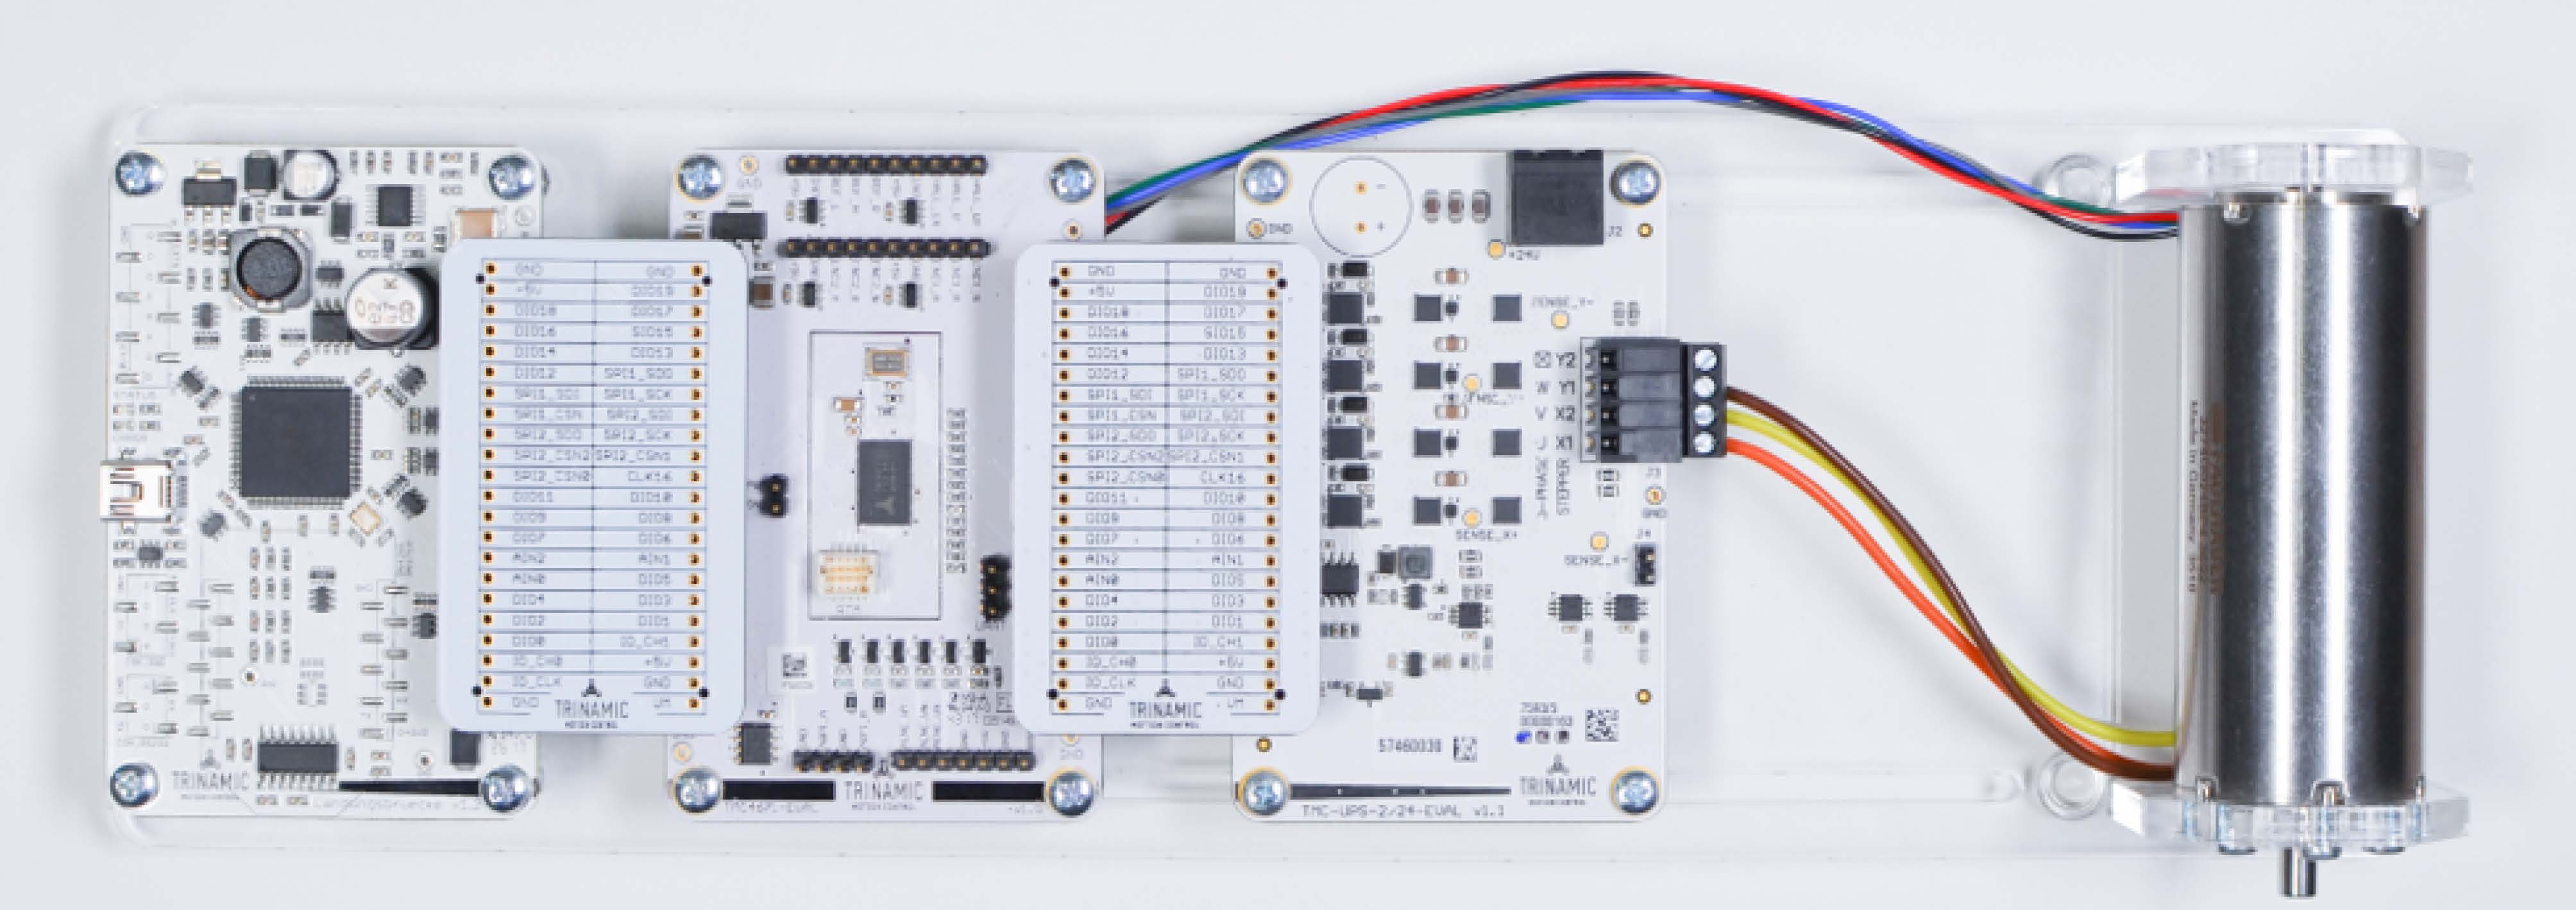
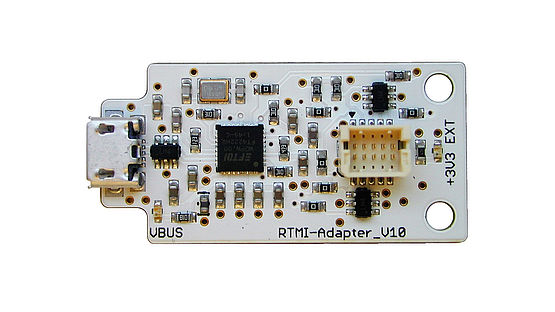
This appnote describes how to tune the TMC4671 using the USB-2-RTMI (RTMI) step by step. The interface converter is based on the FTDI FT4222H USB High-Speed to SPI bridge. It is USB bus powered and offers the same tiny 10pin connector with same pin assignment for the RTMI interface as can be found on the TMC4671 evaluation board. The TMCL-IDE provides the software tools to tune the different control loops. Thus the RTMI is an easy way to debug, monitor, and tune the motor drive in system.
Items Used
- BLDC motor (e.g. QBL4208)
- TMC4671-EVAL-Kit
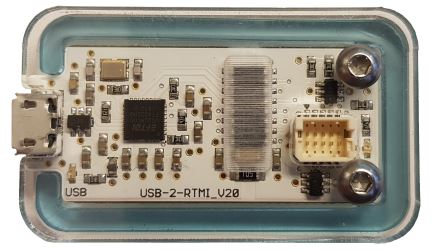
- USB-2-RTMI
- Note: USB-2-RTMI_V20 includes galvanic isolation and only works with TMC4671-LA
- TMCL-IDE (3.0.24)
- Power Supply (24V)
- Micro-USB Cable
- Mini-USB-Cable
USB-2-RTMI Driver Installation
Refer to USB-2-RTMI guide for driver installation.
Basic Configuration
Before using the Tuning tool, the TMC4671 must be configured (e.g. with the TMC4671 Wizard).
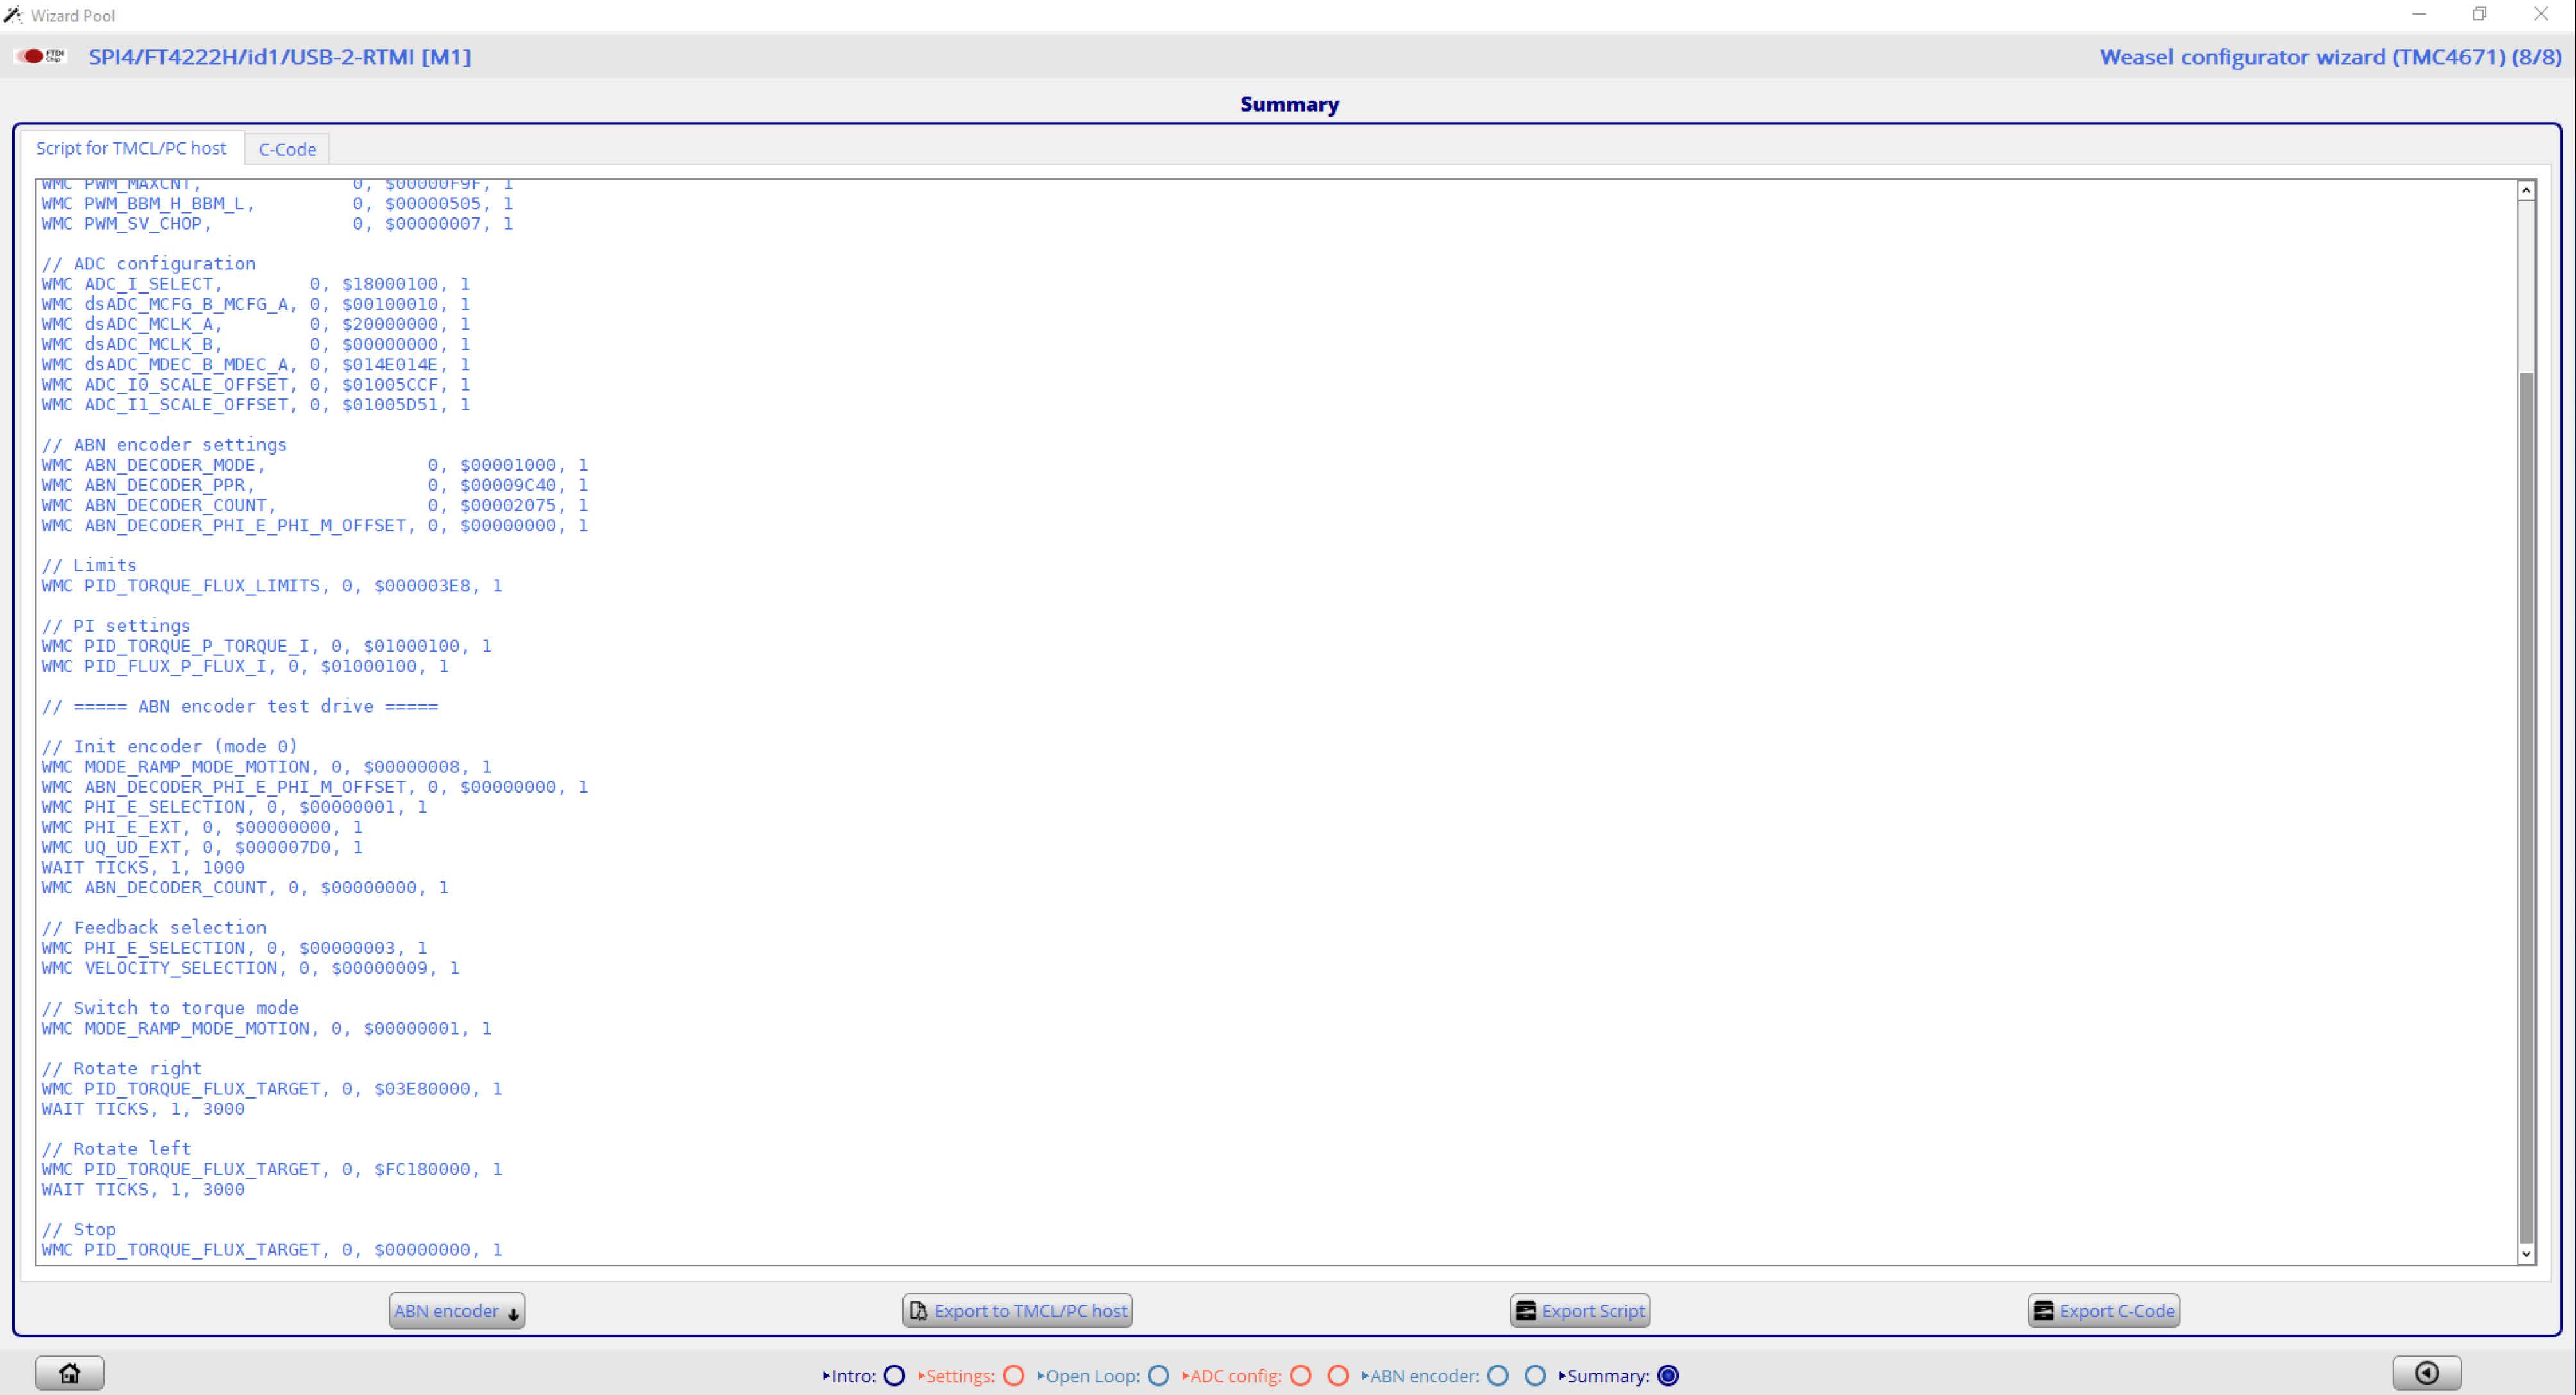
After the basic configuration the parameters can be saved as C-Code or .tpc script
- In the summary choose ABN encoder
- Export the Script with Export Script
Tuning
Overview
The TMC4671 supports three main modes of operation, which requires PI Tuning:
- current mode
- velocity mode
- position mode
Each mode can be tuned by the PI controller for every loop. The low picture gives an overview:
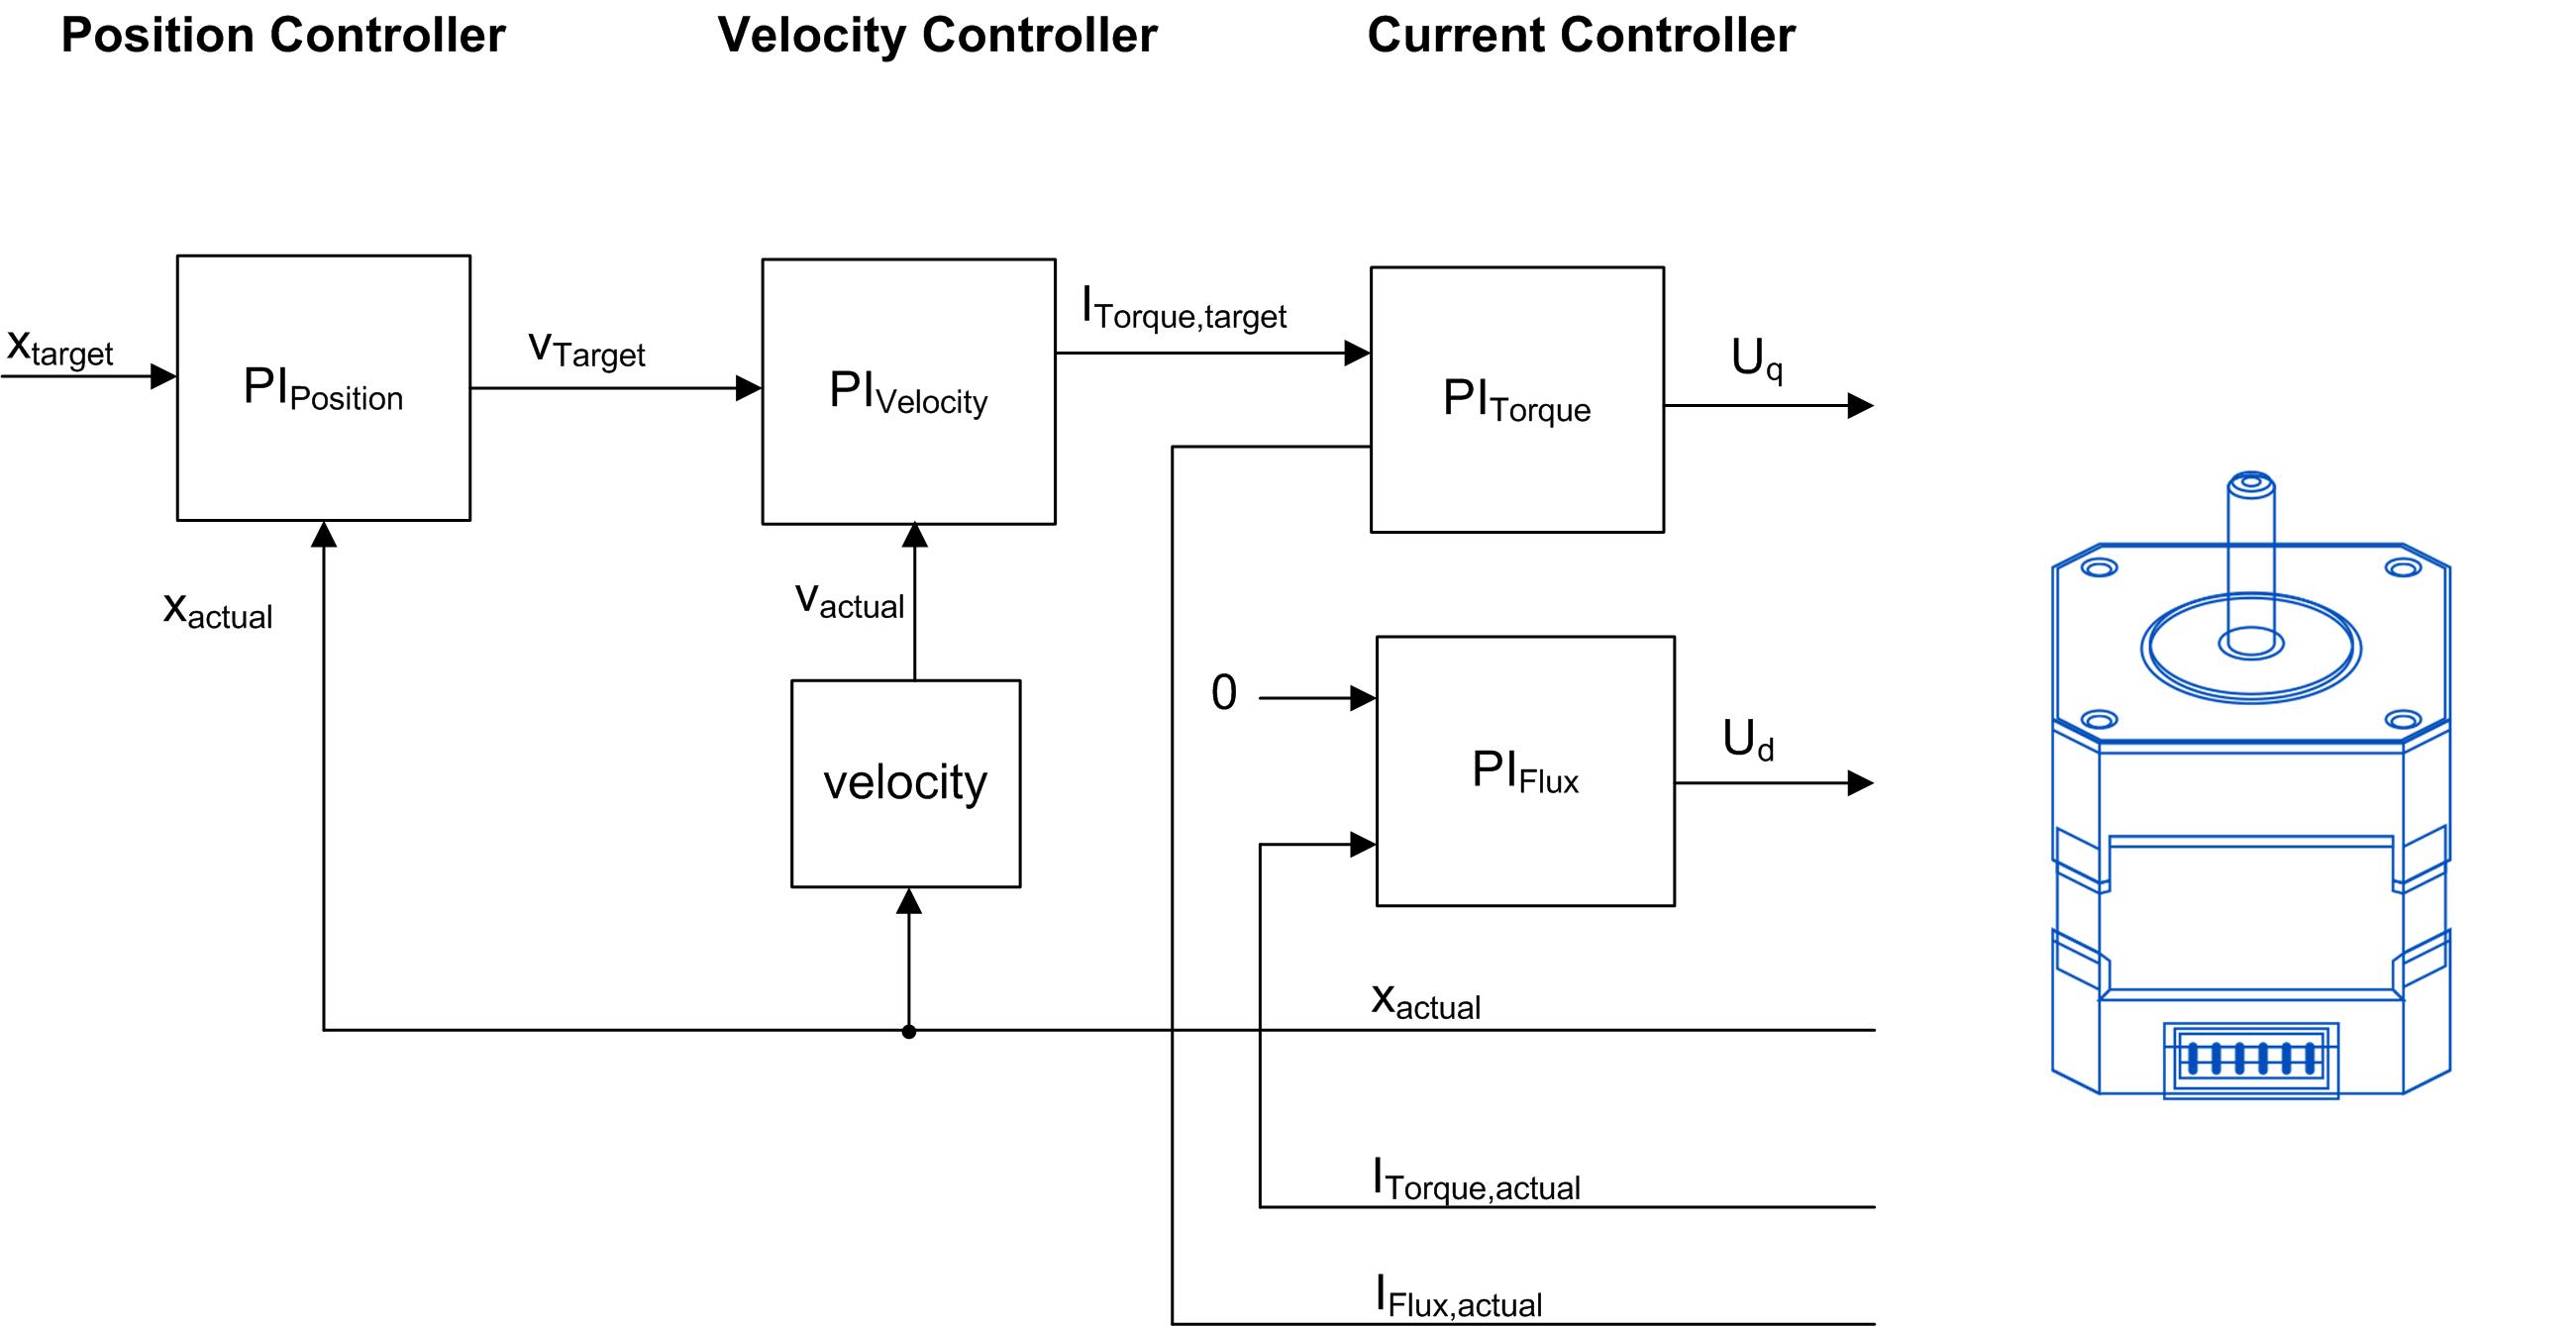
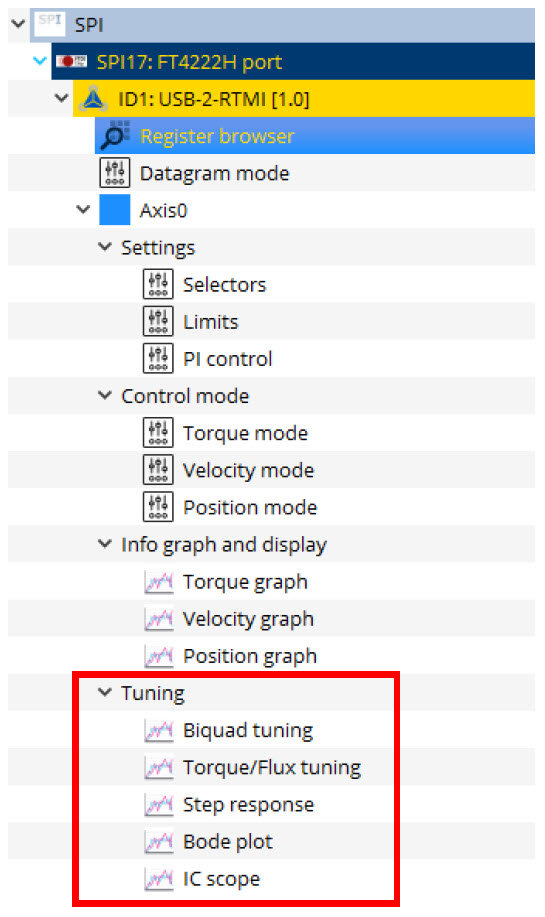
The loops are cascaded, thus the outer loops depends on the tuning of the inner loop. For example, the current loop must be tuned before using the velocity loop. For the tuning of every PI controller tuning tools are provided. In the TMCL-IDE they can be accessed through the Tuning group. The Tuning tools are:
- Biquad tuning: Alows to filter the target values of each loop
- Torque/Flux tuning: Identifies the PI parameters by open loop step response
- Step response: Closed Loop step responses for all control loops
- Bode plot: Bode plot of all loops
- IC scope: Monitoring, Read out of register values with PWM frequency
Limits
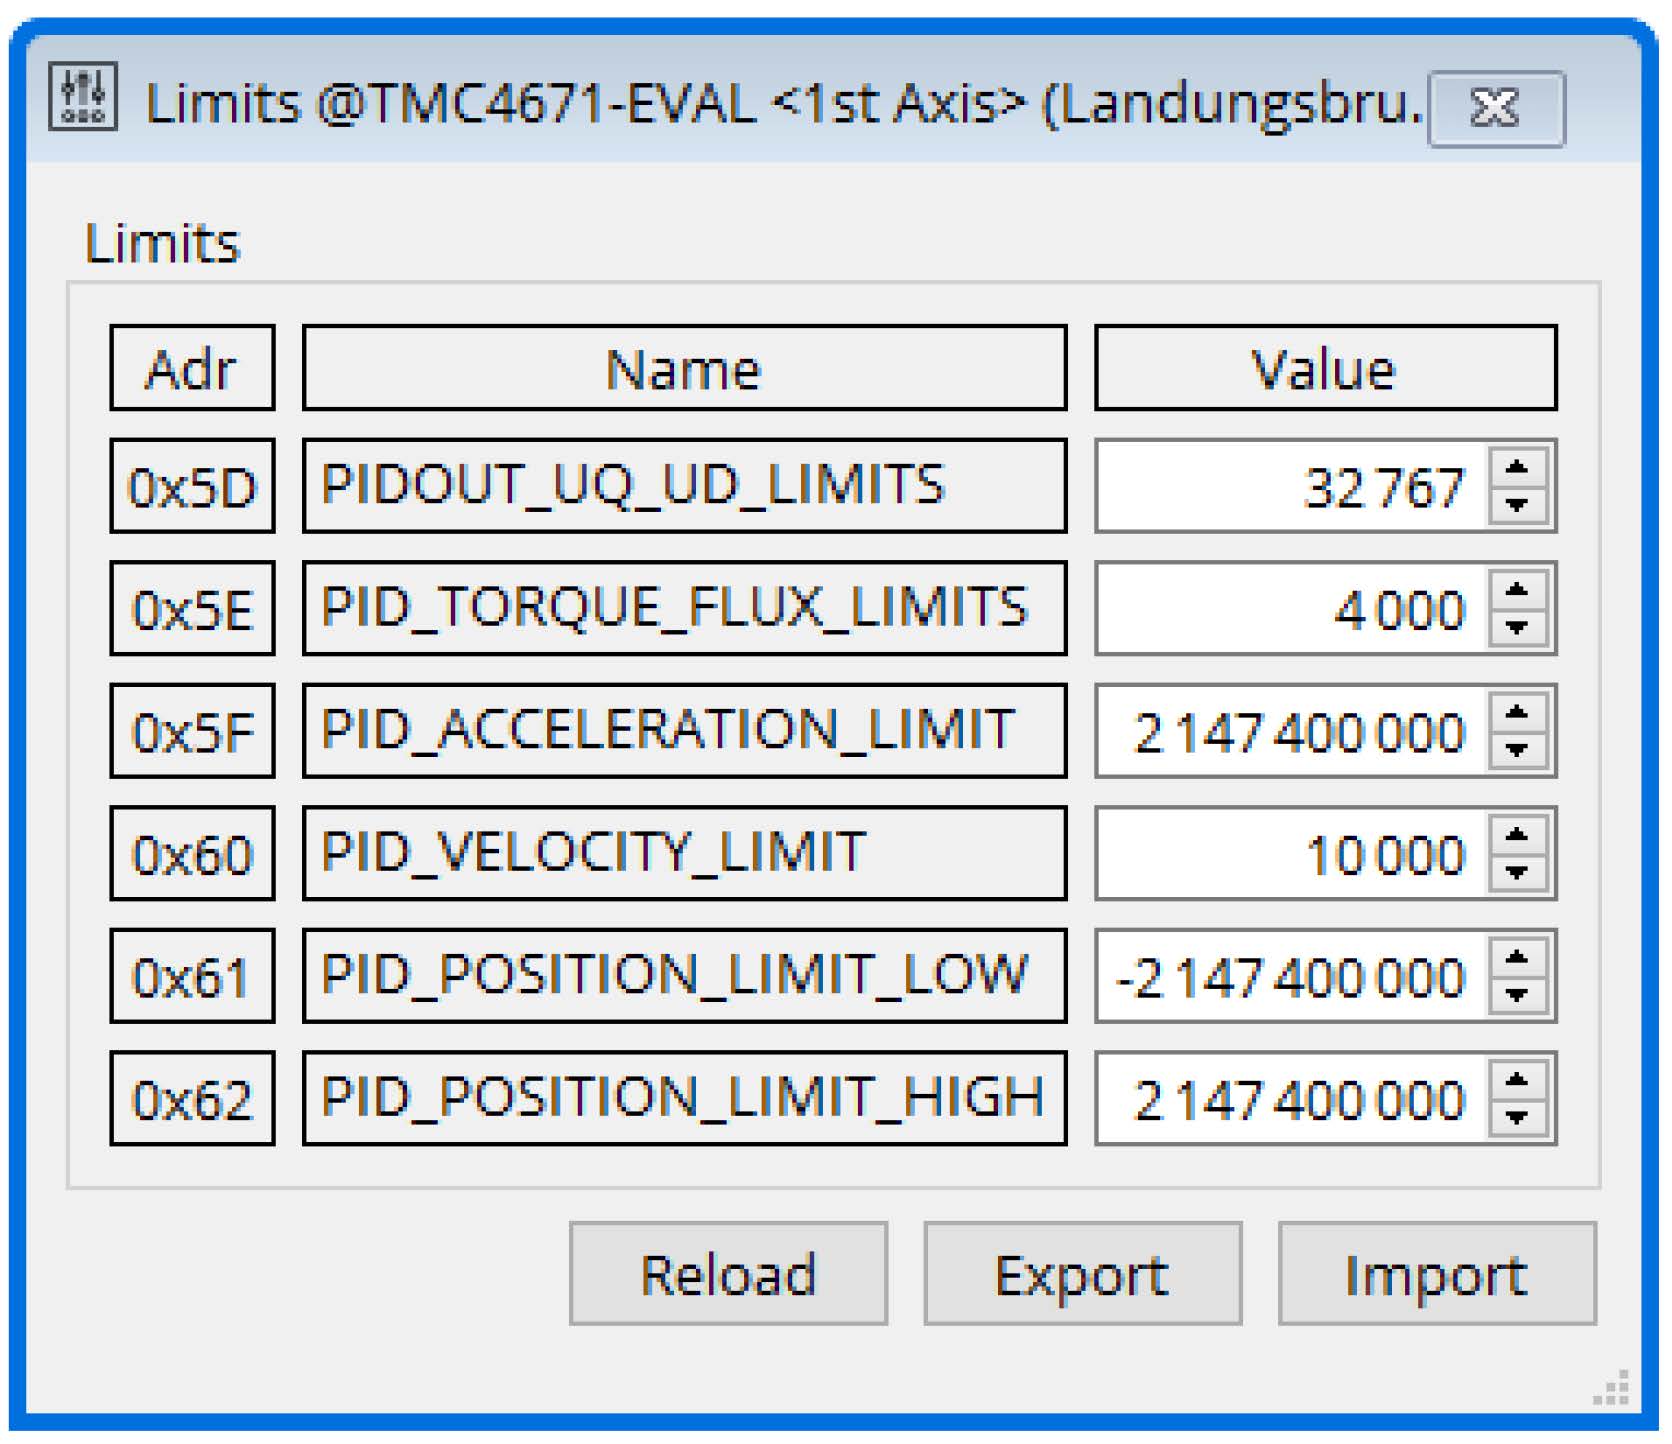
Before using the Tuning tools, it is recommended to set the output of the control voltage to maximum (set the PIDOU_UQ_UD_LIMITS = 32767). For stepper the default value is sufficient.
- Set on the PID_TORQUE_FLUX_LIMITS to limit the maximum current of the application.
- Set PID_POSITION_LIMIT_HIGH = 2 147 400 000 (don’t exceed maximum register value)
- Set PID_POSITION_LIMIT_LOW = -2 147 400 000
Tuning of the Current Loop
The current loop consists of two control loops: One for torque (current) and one for flux (current). Both loops can be tuned with the RTMI tools Torque Flux/Tuning tool and Step response tool. The Torque/Flux tool determines the PI parameters in an open loop mode. While the Step response tool is used to analyze the closed loop behavior.
Torque/Flux Tuning Tool (Open Loop)
The Torque Flux/Tuning tool will automatically determine start values for the PI parameters by identifying the motor parameters. With this procedure, voltage steps are set and the current step response is evaluated. Only the flux current is stimulated for minimal/no motor movement in this tuning phase. It is recommended to use a PWM frequency of 25kHz for best identification results.
- Connect the RTMI to the TMC4671-EVAL and the PC.
- Open the Torque/Flux Tuning Tool.
- Start the identification by using the Start button.

Figure 8: Configuration and start of the step response - The response of the current on the voltage step is shown as well as the identified system

Figure 9: first step response - Check and adapt the Manual Y range for a better view.
- Re-Identify the system using the Start Button. After the motor has been aligned it will give better identification results.
- Adapt the window of the Selected Data if needed. In most cases the default settings will give good results.
- The dynamic step response should be covered in the identification area (dashed frame).

Figure 10: adapted Y range 
Figure 11: Step response: identification area good - In figure 11 the step response is not fully covered. Identification area is too small.

Figure 12: Step response: identification area too small - In figure 12 the Identification area is too large.

Figure 13: Step response: identification area too big - Write the identified PI values to the current controller.
- Use the following button to update the PI values to the current controller

- For very high values identified I-parameter 0 is displayed. In this case the I parameter needs to be set manually (e.g. to 18000).
- Confirm the new PI values with the PI control box. The Reload button may have to be used to update the values.

Figure 14: PI-Parameters
Step Response Toolbox (Closed Loop)
In the previous step, the PI parameters of the Torque/Flux current loop were determined in open loop mode. Now the Step response tool will be used to analyze the closed loop behavior.
- Open the Step response toolbox

Figure 15: step response toolbox - Configure the settings for flux current controller.
- The actual current and the target current is shown.

- Reduce the sample rate for better view

- Optimize the behavior by varying P and I
- Repeat from step 2. With PID_TORQUE_TARGET and PID_TORQUE_ACTUAL
Bode Plot
The Bode Plot tool is used to check the current loop dynamics.
- Open the Bode Plot tool
- Select 1: torque control loop
- Start the measurement with the Start button (leave other settings at default)
- Comparison example: Two below measurement show the bode plots with tuned and untuned/default PI parameter.
- Default PI parameter

Figure 16: PI parameter 
Figure 17: Bode diagram with default PI - Tuned PI Parameter

Figure 18: PI parameter 
Figure 19: Bode diagram with tuned PI - The tuned PI control system has a higher cutoff frequency and thus higher dynamics.
Tuning of the velocity loop.
In this section the velocity loop will be tuned. Precondition is the previous tuning of the current controller. To tune the velocity PI parameter the step response tool (closed loop) will be used.
- For the following steps PHI_E_SELECTION (0x52) should not be set to phi_e_openloop. Set manually or go through TMC4671 wizard for correct configuration.
- For ease of use the velocity unit will be altered. In the selectors toolbox VELOCITY_SELECTION (0x50) is changed from phi_e_selection to phi_m_abn

Figure 20: Selectors: Velocity Unit - Setting of the PI value for the velocity loop
Start with a low P value; set I = 0 - Open Step Response tool box
- Use the example configuration Step Response
- Start the Step response with the Start Button

Figure 22: PID_VELOCITY_P = 100 - Gradually increase the PID_VELOCITY_P until the actual velocity (PID_VELOCITY_ACTUAL) reaches 50-75% of the target velocity (PID_VELOCITY_TARGET)

Figure 23: PID_VELOCITY_P = 300 
Figure 24: PID_VELOCITY_P = 500 - Increase PID_VELOCITY_I until the actual velocity reaches the target velocity

Figure 25: PID_VELOCITY_I = 10 
Figure 26: Selectors: Position unit
Tuning of the position loop
In this section the position loop will be tuned. Before the position loop can be used, the current loop and the velocity loop needs to be tuned. For the tuning the step response tool is used. After that the motion controller of the Landungsbruecke evaluation board is used to increase dynamics and accuracy.
Step Response Tool
- Set POSITION_SELECTION to phi_m_abn
Thus one mechanical revolution equals 65535 counts
- Set starting value for PI Position controller
- PID_POSITION_I = 0 (for most setups it is recommended to set to this to 0)
- PID_POSITION_P = 10

Figure 27: PI parameter - Open the step response tool
- Start the step response with Start button. The Motor will move back and forth the end value. In this case 1 revolution.
- No motor movement with PID_POSITION_P = 10

Figure 28: PID_POSITION_P = 10 - Increase P parameter: PID_POSITION_P = 50

Figure 29: PID_POSITION_P = 50 - Increase P parameter: PID_POSITION_P = 100

Figure 30: PID_POSITION_P = 100 - PI configuration after tuning.

Figure 31: PI parameter
Motion Controller
The Landungsbruecke features trapezoidal ramps which can be used with the TMC4671-EVAL. The TMC4671 does not integrate a motion controller.
- Connect the Landungsbruecke to the PC with a Mini USB cable
- In the Landungsbruecke dialog (not available USB-2-RTMI) open Position Mode toolbox
- Enable Velocity Ramp and limit acceleration

- The motor is turned 10 revolutions with the position mode toolbox.
- Clear the position
- Set Target pos. = 655350
- Start the movement with the Absolute button

Figure 32: Movement with ramp - Increase the acceleration

Figure 33: Movement with ramp - Repeat the motion of 10 revolution with MC and increased accelerations settings, the PI values can be adapted as well.

- PI configuration after adding motion controller

Figure 34: PI parameter
Save PI configuration with the Export option
Summary
The RTMI interface of the TMC4671 provides a powerful option to tune the IC. Fast realtime access to the IC, allows tuning of the control loops and monitoring. The TMCL-IDE provides ready to use software tools for in system developement. For more details on the TMC4671 and how to use, please look into the TMC4671 datasheet.
